


 Here is the AFTER photo. Amazing what a little paint and fabric will do!


 After adding the white stripes, I started with the pink parts of the rose buds, applying a darker shade at the base. This was followed by the leaves, some shading, then the stems and curly stems. Ta Daaaa!

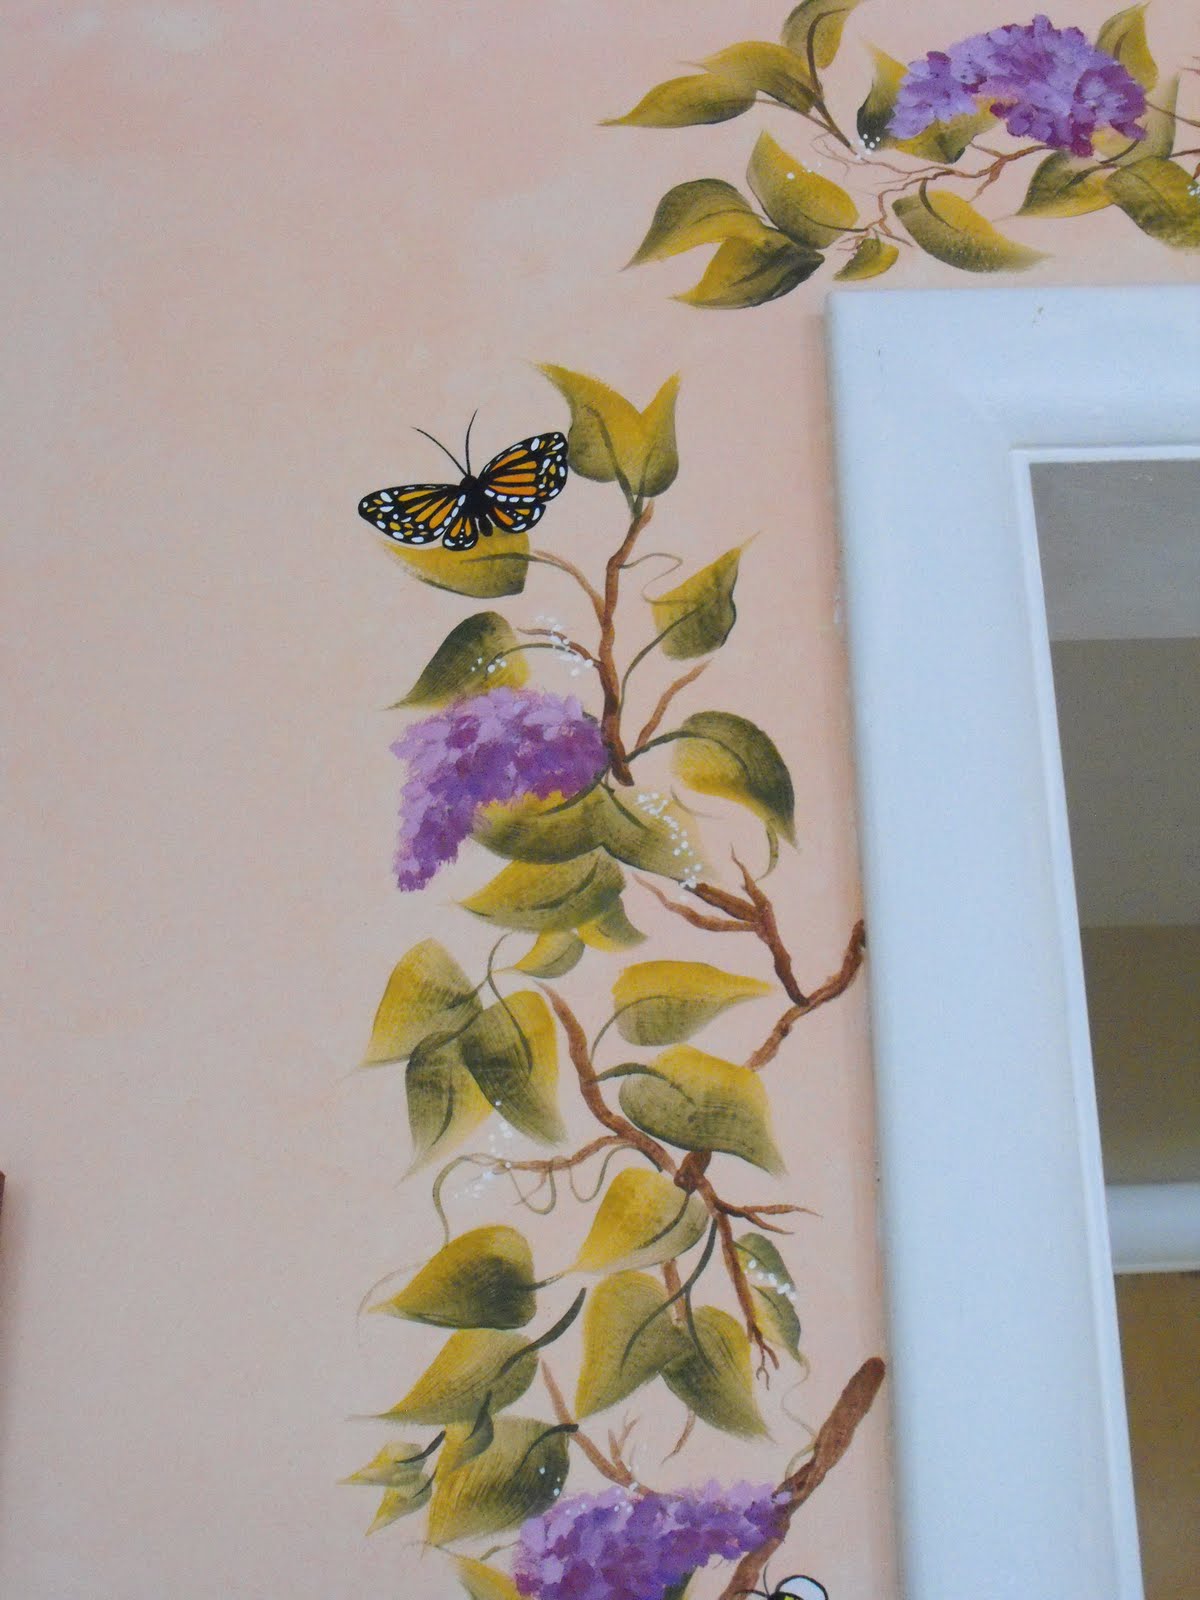 This is a doorway coming into my kitchen. The wall just needed some color so I painted this design. It's always fun to paint vertically - NOT! It would have been SOOOO much easier to paint on a flat table surface then stick it up there, but alas, this is what I did instead. Someone told me they thought I had put butterfly stickers up there. Not so. I truly painted those critters myself......vertically!
 A while back I discovered gourd art. Here in the southwest gourds grow fairly well. We grew some of our own and this is one I painted. Patience is the key word with gourd art. First, they take most of the summer to grow. Then they have to be completely dried out. I usually waited about a year for the drying time. The best way to tell if it was dry was to listen for the seeds to rattle when I shook the gourd. Cleaning the outside was very time consuming. I would work outside because it's a messy project. Keeping a bucket of warm water nearby, I would use a knife to scrape off the skin after I had dipped the gourd in the water. It would take repeated dips in the water and lots of scraping. Once it was completely clean, I'd let it dry out a few days before painting. I used regular acrylic paints for the flowers and leaves, followed by edging the petals and leaves with a wood burner. That's what the black lines are from. Challenging to say the least. When I was satisfied with the project I applied a light coat of satin water-based varnish. I really like the original colors of the gourd. The top was cut off, and I trimmed a large cork to fill the space. I took out the seeds and replaced them with dried beans. This adds weight and helps stabilize the gourd to keep it upright. Seems to be working pretty well. If you have any questions about this craft I'd be happy to answer them.
 Eye glass bag with ribbon rose
 Maybe we got a LITTLE carried away with all the lavender colored crafts!
 This is lavender in my yard in full bloom.
 Last summer my daughter and I put together all sorts of lavender crafts to sell. We used the dried lavender from my 15 plants in the yard. Our booth had sachets, pillows, bags, baskets, soaps, boxes, lavender art, and even buckets full of fresh lavender. The bees loved it!
 This was an old beat-up purple table in need of some help and restoration. After it was sanded down (thanks David) I painted it cream color. Next I painted on the simple roses and leaves. The scroll work was not part of the original table. Those pieces I found at another thrift store and they were brand new. (That's why I call it "treasure hunting"!!!) So I decided to add them to this table to jazz it up. I plan to take this table up to Aunt Elsie's also, Gardner Village, Salt Lake City.


